Repair Rock Chips Before They Become Rust
By Admin
Oct 28, 2026
A fresh rock chip on the hood of a truck or the front edge of a Jeep fender can look minor until Texas weather, road grime, and bare metal get involved. Repair rock chips early and you are usually dealing with a targeted cosmetic fix. Let them sit, and that tiny impact can turn into peeling paint, rust staining, and a body-shop-sized headache.
For rigs that see gravel roads, construction zones, ranch trails, highway miles, and the occasional brush-lined trail, chips are part of the deal. The goal is not to baby the vehicle. It is to catch damage while the repair is still simple, clean, and worth doing.
Why Rock Chips Get Worse Fast
Factory paint is a system, not just a color coat. Primer, base coat, clear coat, and corrosion protection all work together to keep moisture off the metal underneath. A rock strike that breaks through those layers creates a weak point. Water can reach the exposed area, dirt settles into it, and the edge of the surrounding paint can begin to lift.
That process moves faster on high-impact areas: the front bumper, hood leading edge, grille surround, lower doors, rocker panels, fender flares, rear quarter panels, and behind oversized tires. A lifted truck with wider tires may throw more debris down the side of the body. A Jeep running open trails can catch chips from brush, loose rock, and other vehicles in the group.
Not every chip needs a full repaint. But waiting for visible rust is the wrong threshold. Once corrosion is growing under the paint, the repair usually requires more prep, more material, and a larger blended area to make it right.
How to Tell What Kind of Repair You Need
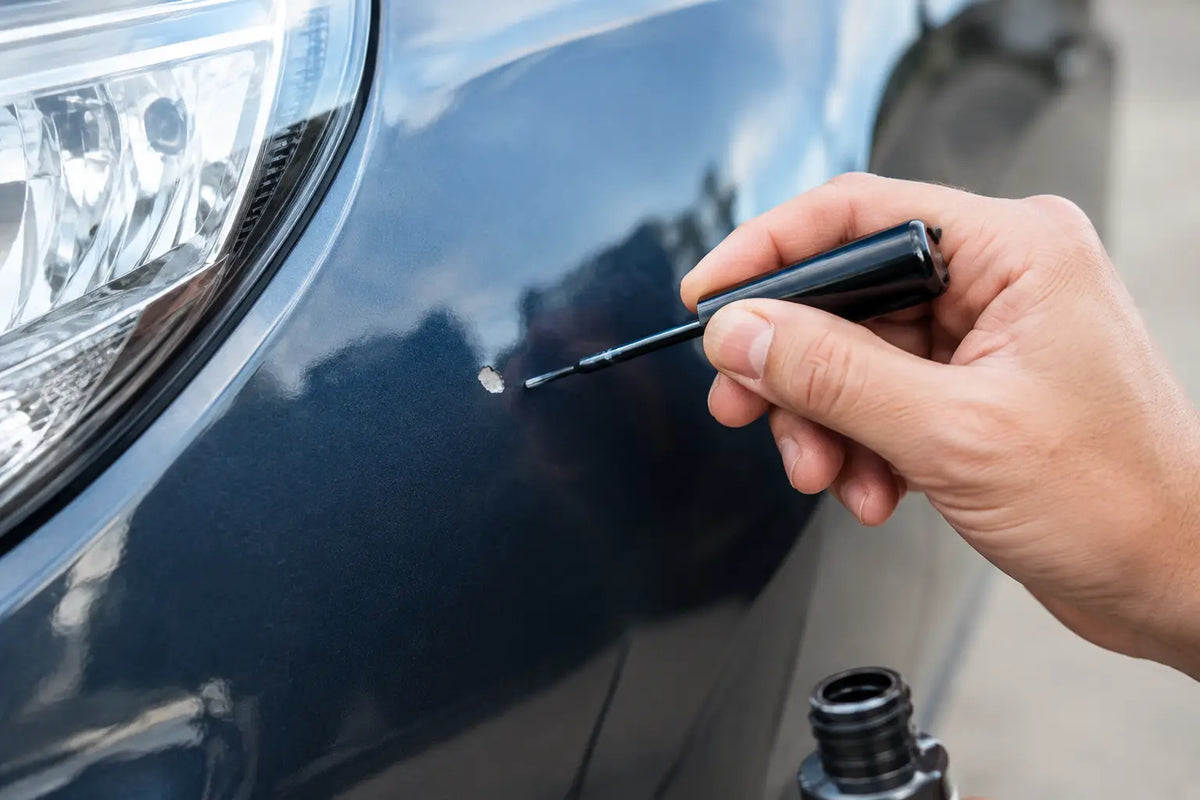
Start by looking at the chip in clean, dry light. Wash away mud, wax, and trail dust first. What appears to be a paint chip may be a transfer mark, a shallow clear-coat scuff, or damage that reaches the metal.
A shallow mark that has not broken through the color may polish out or improve substantially with paint correction. A small, clean chip through the color but without rust is a strong candidate for targeted touch-up or mobile paint repair. The key is proper cleaning, feathering, color matching, and clear-coat work - not simply dabbing paint into a dirty crater.
When you see orange or brown discoloration, bubbling around the edge, flaking paint, or a dent in the impact area, step up the repair plan. Rust needs to be removed and stabilized before new paint goes on. A chip combined with a crease or sharp dent may need paintless dent repair, conventional bodywork, or both depending on whether the paint is broken.
The size and location matter too. A pinhead-sized chip on a flat hood panel is different from a cluster of impacts on a bumper corner or a chip directly on a body line. Repairs near sensors, cameras, textured plastic, decals, armor, and matte finishes require a more careful approach.
Repair Rock Chips the Right Way
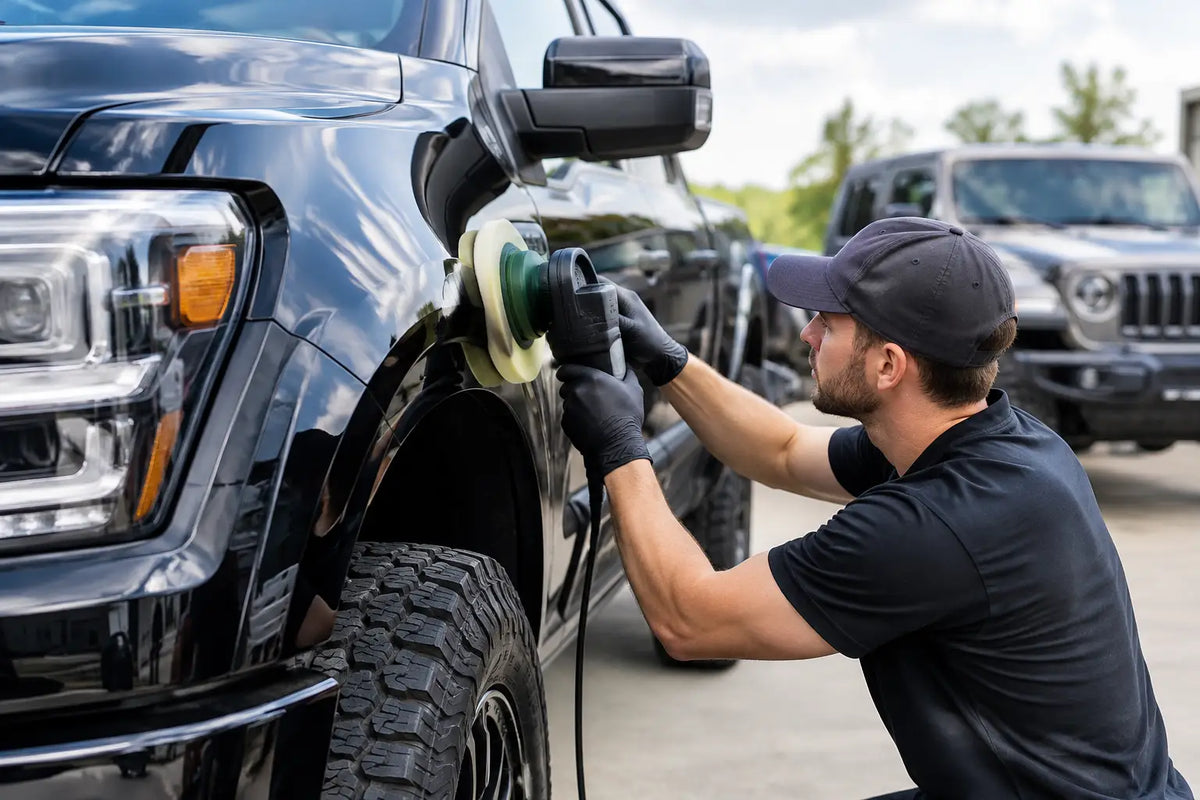
The best repair is based on the damage, not on a one-size-fits-all kit. For a few isolated chips, a skilled technician can prep the damaged spot, address early corrosion if present, apply matched color, and refine the finish so it does not look like a row of obvious paint dots from ten feet away.
Mobile repair makes real sense when the damage is localized. You keep the truck, Jeep, or SUV at home or work, avoid dropping it at a shop for a small cosmetic issue, and handle the problem before it spreads. NTX Offroad brings that convenience to North Texas owners who want trail wear handled without turning a minor repair into a week without their rig.
There is a trade-off. Mobile spot repair is not the answer for every panel. If the clear coat is failing across a large area, the paint has heavy oxidation, rust has spread behind the panel, or collision damage has distorted the body, a conventional body shop repair may be the better call. The right answer is the one that protects the vehicle and produces a finish you can live with, not the cheapest shortcut.
What a Quality Spot Repair Should Address
A proper rock-chip repair starts with surface preparation. The damaged area must be cleaned of contaminants and loose paint. If bare metal is exposed, it needs corrosion protection before color goes down. The technician then builds color and clear carefully, levels the repair as needed, and checks the result from more than one angle.
Color matching deserves respect, especially on metallics, pearls, and newer factory colors. Paint can vary across the same vehicle because of sun exposure, panel angle, production batches, and previous repairs. A good repair is about blending the color into the panel visually, not just matching the paint code on paper.
Do not expect a $15 bottle of touch-up paint to deliver the same result. DIY touch-up has a place as temporary protection for a fresh chip, especially before a trip or during bad weather. It is less likely to disappear visually, though, and excess material can leave raised blobs that collect wax and dirt.
When DIY Makes Sense and When It Does Not
If you have one or two tiny chips and the goal is simply sealing bare metal quickly, a factory-matched touch-up kit can be useful. Work in a clean, shaded area. Clean the chip thoroughly, use very small amounts of paint, and let each layer cure as directed. Trying to fill a chip in one heavy pass usually makes it more visible.
DIY gets risky when there is rust, a dent, a larger paint break, or a chip in a prominent spot such as the hood or door. Sanding aggressively can enlarge the repair. Using the wrong cleaner can trap contamination. Spraying an aerosol can without controlling overspray can create a much bigger cosmetic problem than the original chip.
The same applies to off-road armor and accessories. Steel bumpers, sliders, roof racks, and skid plates are built to take abuse, but bare scratches still need attention. Their coatings may be textured, powder-coated, or satin rather than conventional automotive clear coat. Treating them like a painted hood can produce a patch that looks out of place or fails early.
Protect the Areas That Take the Hit
Once the paint is repaired, look at what caused the damage. Some rock chips are unavoidable, but repeated impacts often point to a protection issue. Mud flaps, properly fitted fender liners, wheel well coverage, and rock guards can reduce debris thrown by aggressive tires. They may not be the flashiest upgrade, but they earn their keep on daily-driven builds.
Paint protection film is worth considering for leading edges that live in the line of fire. Hood fronts, mirror caps, rocker panels, lower doors, bumper faces, and rear bedside sections behind the tires are common targets. Film costs more upfront than touch-up paint, and it will not stop a hard strike from denting metal. It can, however, absorb the smaller impacts that slowly sandblast a clean finish.
For dedicated trail rigs, the decision depends on how you use the vehicle. A show-ready overland build may justify protection on every vulnerable panel. A hard-use wheeler may wear its trail scars as proof of work, while still protecting bare metal so cosmetic damage does not become structural corrosion. No compromises does not mean no maintenance.
Do Not Ignore Chips Before a Sale or Trade
Small paint defects affect how people judge the entire vehicle. A buyer may see a handful of rusty chips and assume the truck was neglected everywhere else. The same goes for a dealer appraisal. Repairing localized damage before listing, trading, or handing back a lease can make the vehicle look cared for without paying for an unnecessary full-panel repaint.
Take a quick walk around your rig after trail days, long highway runs, and winter weather. Check the hood edge, front fascia, rockers, lower doors, and the areas behind the tires. Catching a chip while it is still just a chip keeps your build looking sharp and your metal protected for the miles ahead.